


7 Steps to Fix Sunken Driveway Pavers Yourself

Last Updated: October 24, 2026
Quick Summary
To fix sunken driveway pavers, diagnose the cause, lift the blocks from the edge inward, rebuild the sharp sand bed at a consistent 30mm to 40mm depth, and re-lay the blocks flush with their neighbours. Then compact the area, re-sand the joints with kiln-dried or jointing sand, and seal on a dry day.
Lift blocks from the edge of the sunken area inward, working roughly one block beyond the visible dip.
Rebuild the bedding with sharp sand compacted in layers, keeping depth around 30mm to 40mm.
Use kiln-dried or purpose-made jointing sand, not builder's sand, which holds moisture and encourages weeds.
Run a plate compactor over the repair with a rubber mat, then re-sand any joints that open up.
Never seal damp paving, as trapped moisture turns the finish milky; wait for a dry spell.
Table of Contents
What You'll Need to Fix Sunken Driveway Pavers
Step 1: Diagnose Why Your Driveway Pavers Are Sinking
Step 2: Lift the Sunken Blocks Without Breaking Them
Step 3: Rebuild the Sand Bed and Re-Lay the Pavers
Step 4: Choose the Best Sand for Block Paving Joints
Step 5: Compact, Re-Sand and Seal the Joints
Block Paving Repair Cost UK: When DIY Stops Making Sense
Driveway Pressure Washing in Haddington: Finishing the Job Properly
Frequently Asked Questions
What You'll Need to Fix Sunken Driveway Pavers
Fixing sunken driveway pavers is a job most confident DIYers can handle in a weekend, as long as the dip is shallow and the cause is simple. This guide walks you through the seven steps we'd use ourselves.
Before you lift a single block, gather the right kit. Missing tools are the main reason DIY repairs go wrong.
Materials:
Kiln-dried sand or a specialist jointing sand
Sharp sand for the bedding layer
Replacement blocks (a few spares, matched to your existing paving)
Weed membrane, if the joints keep sprouting growth
Tools:
Bolster chisel and club hammer
Block lifter or two flat pry bars
Rubber mallet
Plate compactor (hire one for the day)
Stiff broom
Spirit level and string line
Wheelbarrow and shovel
You can hire a plate compactor from most tool hire shops in the area for a modest daily rate. Buy your sand in sealed bags, not loose, so it stays dry.
Step 1: Diagnose Why Your Driveway Pavers Are Sinking
The fix depends entirely on the cause, so diagnose before you dig. Sunken driveway pavers usually settle for one of four reasons, and each needs a different repair.
Here's what to check:
Poor drainage: water pools in a low spot and softens the bedding sand over time.
Failed bedding layer: the sand beneath the blocks has washed away or compacted unevenly.
Tree roots: roots lift or shift blocks from below.
Heavy vehicle loads: regular parking on one spot pushes blocks down.
Lift one block and look underneath. If the sand is wet and grey, drainage is your issue. If it's dry and patchy, the bedding has failed. Green growth and moss in the joints often go hand in hand with a low, damp spot, so it's worth understanding why your block paving goes green and what actually fixes it before you start rebuilding.
Sunken pavers usually settle for one of four reasons, and each needs a different repair.
Problem | Cause | What to check |
Poor drainage | Water pools in a low spot and softens bedding sand | Sand underneath is wet and grey |
Failed bedding layer | Sand washed away or compacted unevenly | Sand underneath is dry and patchy |
Tree roots | Roots lift or shift blocks from below | Movement under the blocks |
Heavy vehicle loads | Regular parking on one spot pushes blocks down | Dip where cars park |
Step 2: Lift the Sunken Blocks Without Breaking Them
Lifting blocks cleanly is the step most people rush, and it's where damage happens. Work from the edge of the sunken area inward, not from the middle.
Slide a bolster chisel into the joint and tap gently with a club hammer. Once you feel movement, work a block lifter or pry bar underneath and ease the block up. Stack lifted blocks to one side in the order you removed them, so they go back in the same pattern.

Watch out: levering a block from its centre rather than the joint cracks it, and matching a cracked block later is harder than it sounds. Lift a wider area than the visible dip, roughly one block beyond the sunken edge, so the new bed blends into the sound paving.
Step 3: Rebuild the Sand Bed and Re-Lay the Pavers
Rebuilding the bed correctly is what stops the dip coming back. Remove the old sand down to firm ground, then top up with sharp sand and compact it in layers.
Keep the bedding depth consistent, usually around 30mm to 40mm. Check with a string line across the repair area so the new blocks sit flush with their neighbours. Lay each block back in position and tap it down with a rubber mallet, checking the level as you go.
A common mistake is overfilling the bed. Too much sand and the blocks sit proud; too little and they rock underfoot. Aim for firm and level, not loose and deep.
Step 4: Choose the Best Sand for Block Paving Joints
The best sand for block paving joints is a kiln-dried sand or a purpose-made jointing sand, not builder's sand. Kiln-dried sand flows into the joints without clumping and sets firm once it's dampened and compacted.
Builder's sand holds moisture and encourages weeds, which is the last thing you want after all that work. Specialist polymeric jointing sands are another option, though they cost more and need careful application in dry weather.
Whichever you pick, brush it into the joints dry, sweep off the excess, then lightly mist the surface. Top up any joints that settle after the first rain.
Step 5: Compact, Re-Sand and Seal the Joints
Compaction locks the repair together, so don't skip it. Run a plate compactor over the repaired area, using a rubber mat to protect the block faces, then re-sand any joints that open up.
Sealing is the final step and the one that keeps water out. Our guide to the best driveway sealers for Scottish weather covers which products actually hold up here. Choose a breathable sealer suited to block paving and apply it on a dry day. Our tips on how to prevent driveway moss will help you keep growth out of freshly sealed joints.
Watch out: sealing damp paving traps moisture and turns the finish milky. Wait for a dry spell, and never seal straight after rain.
Block Paving Repair Cost UK: When DIY Stops Making Sense
Block paving repair cost UK homeowners face varies widely, and DIY only makes sense for small, shallow dips.
Go DIY if:
The dip is small, under a couple of square metres
The cause is simple, like a failed bedding layer
You have the tools or can hire them cheaply
Call in a professional if:
The sinking covers a large area or keeps returning
The sub-base itself has failed
You're selling and need a reliable finish
For a deeper look at what professional restoration involves, our guide to the best driveway restoration techniques explains the methods and outcomes. We're always happy to give a free estimate, with no pressure either way.
Driveway Pressure Washing in Haddington: Finishing the Job Properly
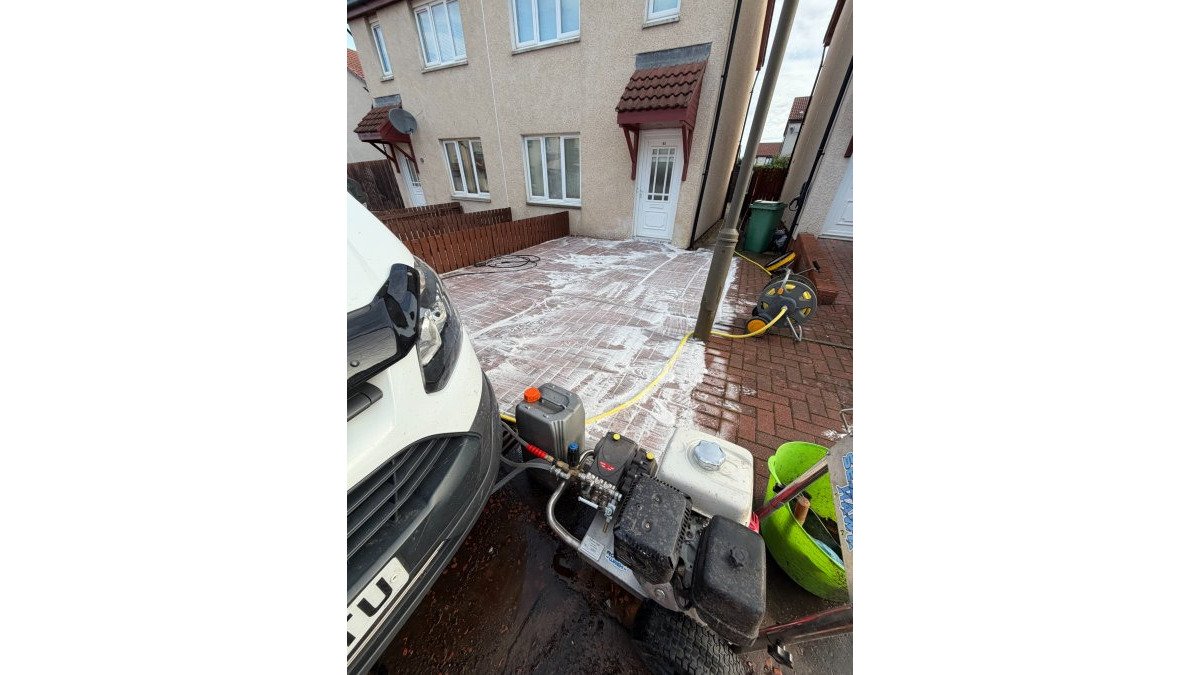
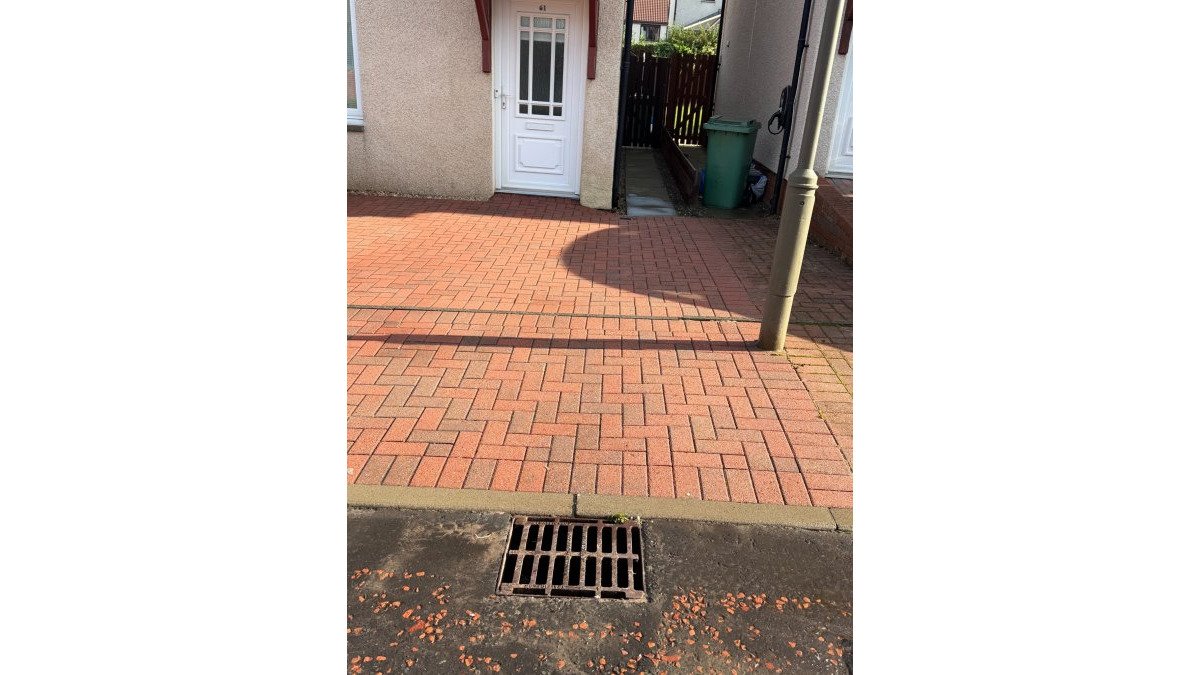
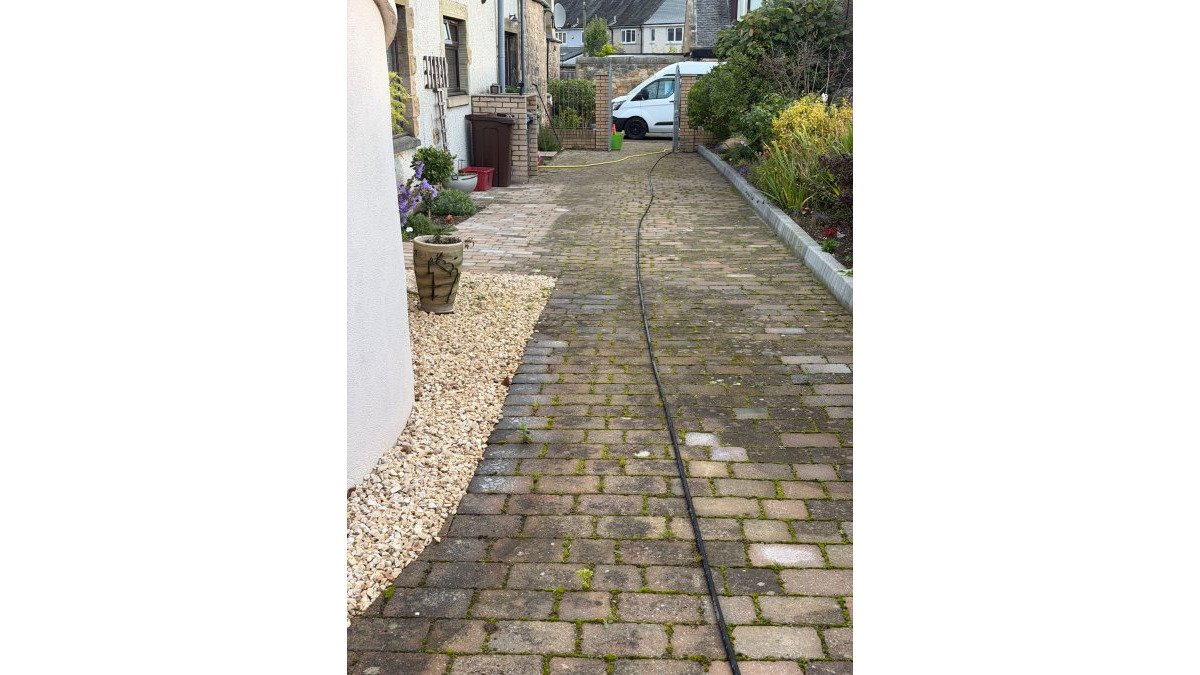
Once the blocks are back in place, a proper clean finishes the job and shows off the repair. Driveway pressure washing in Haddington is where we come in: we clean block paving, brick pavers and driveways to lift the algae and dirt that build up in our damp climate.
Doing it yourself is fine, but get the pressure and technique right or you'll blast the jointing sand straight out, which is exactly how many sunken patches start. If you're doing it yourself, follow our step-by-step guide to cleaning block paving so the clean doesn't undo the repair.
If you'd rather hand it over, Drive Revive Haddington offers professional pressure washing across East Lothian, including a community campaign giving a free driveway clean to an elderly couple locally. We know these driveways, and we know what our weather does to them.
Frequently Asked Questions
Why are my driveway pavers sinking?
Most sunken driveway pavers come down to what sits underneath them. Bedding sand washes out through joints or drains away when water pools on the surface, and the blocks drop into the gap. Poor compaction during the original install, tree roots pushing up beneath, or a sub-base that was never deep enough for the traffic also cause settlement. In East Lothian, heavy rain and shaded north-facing drives make the sand-loss problem worse, so check for low spots where water sits after a downpour.
Can I fix sunken block paving myself or do I need a professional?
A single sunken patch of a few blocks is a realistic DIY job with a bolster chisel, club hammer, sharp sand and a plate compactor. Anything larger than about a square metre, or sinking that keeps returning in the same spot, points to a sub-base problem that needs proper excavation and rebuilding. If the joints have been blasted out by a pressure washer or the whole drive has settled unevenly, call in a specialist rather than patching it repeatedly.
What materials do I need to repair sunken driveway pavers?
You need sharp sand or kiln-dried sand for the bedding layer, a bolster chisel and club hammer to lift blocks, a rubber mallet, a straight edge or string line for levels, and a plate compactor for the final settle. For the joints, kiln-dried sand is the best sand for block paving joints because it flows into the gaps and sets firm. Buy a spare handful of matching blocks too, since old ones can crack on lifting.
How do I prevent pavers from sinking again in the future?
Keep the joints full. Once sand washes out, water gets under the blocks and the cycle starts again, so top up joints with kiln-dried sand every year or two. Avoid blasting joints with a pressure washer at close range, clear moss and algae so water drains freely, and check that any gullies or channel drains are not blocked. If your drive slopes toward the house, a professional clean and re-sand will do more for drainage than repeated patching.
Sunken pavers rarely fix themselves, and a small dip left alone usually grows into a bigger, costlier problem. If you'd rather not tackle it yourself, Drive Revive Haddington can help: we specialise in cleaning block paving, brick pavers and driveways, removing algae and dirt, and restoring outdoor spaces to a like-new condition. Get started with Drive Revive Haddington and request a free estimate for your driveway today.
Request a Free Estimate
Add driverevivehaddington.com as a preferred source on Google →
Comments