


How to Restore a Front Door for Sale: DIY Steps

Last Updated: October 29, 2026
Quick Summary
A DIY front door restoration involves stripping and sanding the old finish, filling cracks, priming the wood, and applying two thin topcoats of exterior paint or varnish. Done carefully, it can make the door look cared for before a sale, often for the cost of a few tins of paint and some sandpaper.
Remove the door and hardware first, labelling screws so they return to the right place.
Sand with 120 grit, then finish with 180 grit for a fine, even texture.
Always apply a wood primer before paint so the topcoat sticks and lasts.
Apply two thin coats of exterior paint or varnish, letting each dry between coats.
Avoid painting in damp weather, since trapped moisture causes bubbling.
Table of Contents
Your front door is the first thing a buyer sees, and a sharp front door restoration often sets the tone before they step inside. The good news is that a DIY restoration can make a real difference, often for the cost of a few tins of paint and some sandpaper.
A dull, flaking or cracked front door can affect a property's appearance. A freshly restored one can give it a cared-for look.
Keep reading and you'll get the full process, from the tools you need to the mistakes that catch out most home sellers.
Why Your Front Door Matters Before a Sale
Kerb appeal is the first impression a buyer forms, and the front door plays a big part in that. Most viewers look at the door before they look at the windows or the garden.

A worn door can make the whole house look less cared for. A well-finished one suggests the rest of the property has been looked after too.
A clean, glossy finish reads as "well maintained"
Chips and peeling paint read as "needs work"
A new handle or letter box adds a finishing touch
If you're also thinking about the wider exterior, our guide on restoring block paving curb appeal covers the driveway side of things. For a full checklist, see our house exterior sale checklist.
Front Door Restoration Tools You Will Need
A few items are useful for the job.
Kristen McGowan
Dust sheets and masking tape
Electric or hand sander with 120 and 180 grit sandpaper
Paint stripper or a chemical stripper suited to your door's finish
Filler for cracks and gaps
Fine-grit sanding block
Primer suitable for wood
Exterior-grade paint or varnish
Good quality brushes and a small roller
Screwdriver set and a drill for removing hardware
Check the label to ensure the products are suitable for outdoor use.
How to Restore a Wooden Front Door Step by Step
Work in a dry, mild spell if you can.
Start by removing the door from its hinges if possible. Take off the handle, letter box and any other hardware, and label the screws so they go back in the right place.
Stripping and Sanding the Old Finish
Cover the floor. Apply your paint stripper according to the instructions, then scrape away the softened layers.
Once the old finish is gone, sand the whole door with 120 grit to smooth out the surface. Finish with 180 grit for a fine, even texture.
Repairing Cracks, Gaps and Hardware
Fill any cracks, holes or gaps with a wood filler suited to exterior use. Press it in firmly, let it dry fully, then sand it flush with the surrounding wood.
Priming, Painting and Varnishing
Apply a wood primer first. It seals the grain and helps the topcoat stick. Let it dry completely before moving on.
Next, apply two thin coats of exterior paint or varnish, letting each dry between coats. Thin coats look smoother and last longer than one thick coat that runs or drips.
Refit the hardware once the paint has cured, and you're done.
The restoration follows a clear sequence, and the article gives rough timings for each stage.
Stage | What to do | Time |
Stripping and sanding | Strip old finish, sand with 120 then 180 grit | One day |
Filling and repairs | Fill cracks and gaps, sand flush | Half a day, plus drying |
Priming | Apply wood primer and let it dry fully | One day, including drying |
Topcoats | Apply two thin coats, drying between each | One to two days, including drying |
How Long Does It Take to Restore a Front Door?
Stripping and sanding: one day
Filling and repairs: half a day, plus drying time
Priming: one day, including drying
Topcoats: one to two days, including drying between coats
Common Mistakes Home Sellers Make With Front Doors
Skipping the primer: Paint peels quickly without it, especially on bare wood.
Painting in damp weather: Moisture trapped under the paint causes bubbling.
Using interior paint: It won't stand up to rain and sun.
Overloading the brush: Thick coats run and dry with lumps.
Forgetting the edges: Paint the sides and top of the door too, so moisture can't get in.
Booking Your Exterior Clean Alongside the Door Work
If your driveway or patio has algae or dirt, cleaning it can enhance the appearance of your outdoor space. Our driveway cleaning value guide looks at whether that cleaning adds value before a sale. Our guide on why exterior maintenance matters for curb appeal explains how this affects the first impression a property makes.

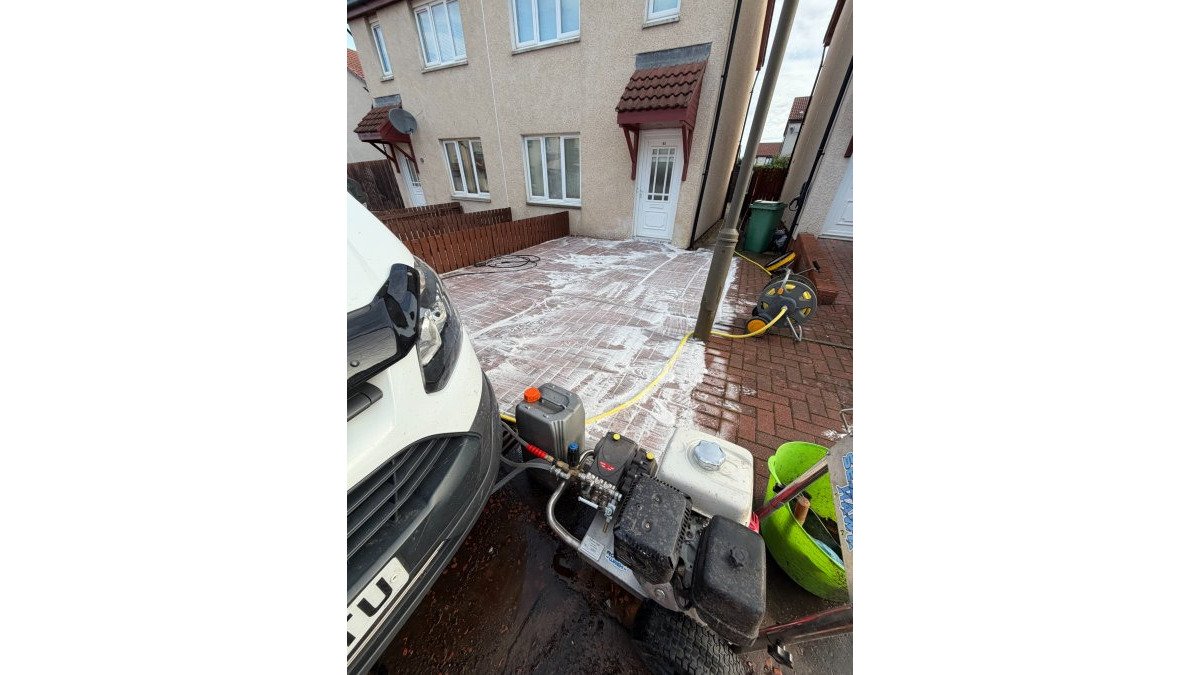
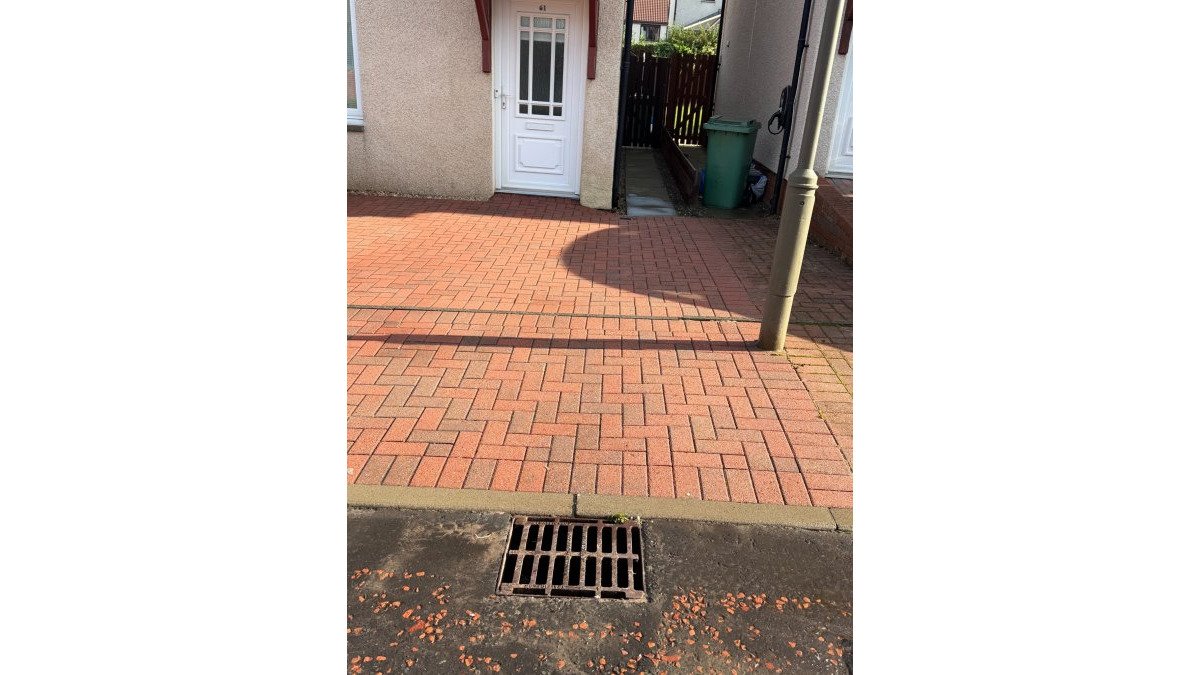
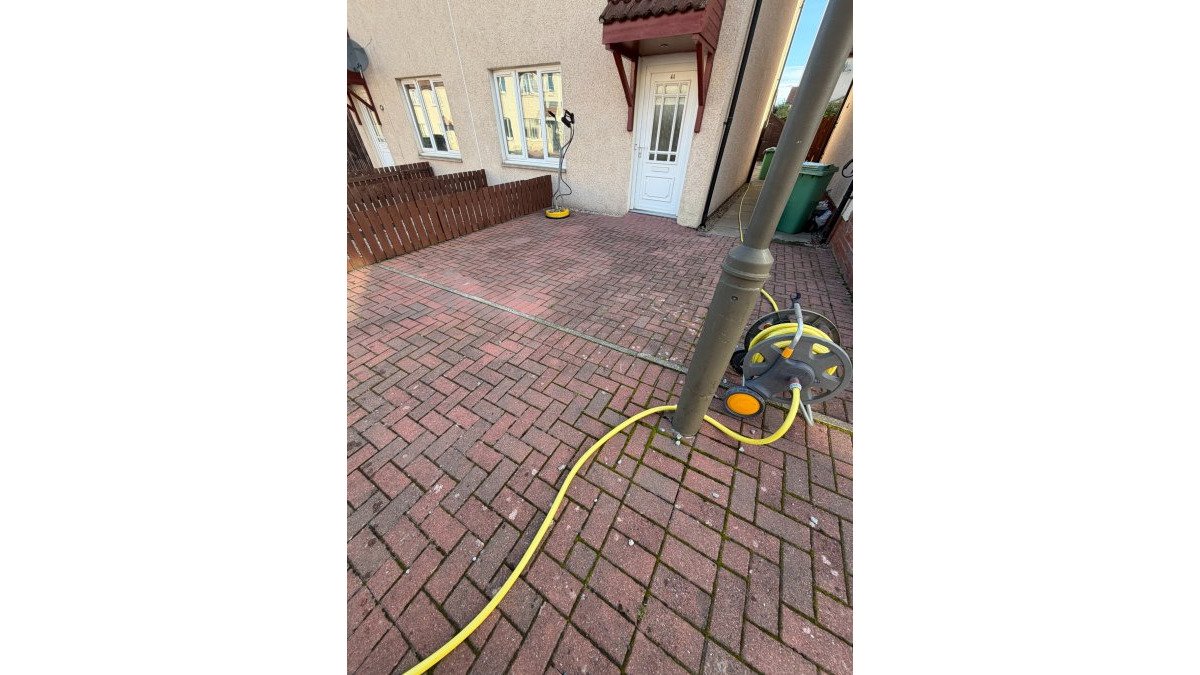
At Drive Revive Haddington, we specialise in pressure washing driveways, patios and block paving. Our service removes algae and dirt, enhancing the appearance of your outdoor space. Request a free estimate. You can also read about the benefits of professional driveway sealing to protect those surfaces afterwards.
Frequently Asked Questions
How do you restore a wooden front door?
Start by removing the hardware and cleaning the door with a mild detergent. Strip or sand the old finish back to bare wood, working with the grain. Fill cracks and gaps with a exterior-grade wood filler, then sand smooth. Apply a primer, followed by two coats of exterior paint or varnish, letting each coat dry fully. Work in dry weather with temperatures above 10 degrees Celsius for best results, and wear a dust mask when sanding older paint, which may contain lead.
How long does it take to restore a front door?
Most DIY front door restorations take between two and four days once you account for drying time. Stripping and sanding usually takes one full day, while filling and priming need overnight drying. Each topcoat needs several hours before a second coat. Rushing the drying stage is the most common reason for a poor finish, so plan the work around dry weather and allow a clear window before your listing photos.
Should you sand a front door before repainting it?
Yes, in most cases. Sanding removes flaking paint, smooths old drips and creates a surface that new primer and paint can grip. Light sanding is enough if the existing finish is sound. If the paint is peeling or heavily layered, strip it first, then sand. Always finish with fine grit paper and wipe away dust before priming so the final coat looks even.
How do you improve front door kerb appeal before selling a house?
A freshly restored and painted door can enhance the property's appearance. A professional exterior clean of the driveway and patio can remove algae and dirt and enhance the appearance of outdoor spaces.
Comments