


How to Remove Weeds From Block Paving (and Stop Them Coming Back)

Weeds between driveway blocks can make the whole area look neglected. Pulling them out may tidy things up for a few days, but if the joints are empty and full of soil, new growth can soon appear.
The lasting approach is to remove the growth, clean the paving carefully, then refill the joints once they are dry. Here’s how to do it, and when it may be worth getting a professional to help.
Why do weeds grow between block paving?
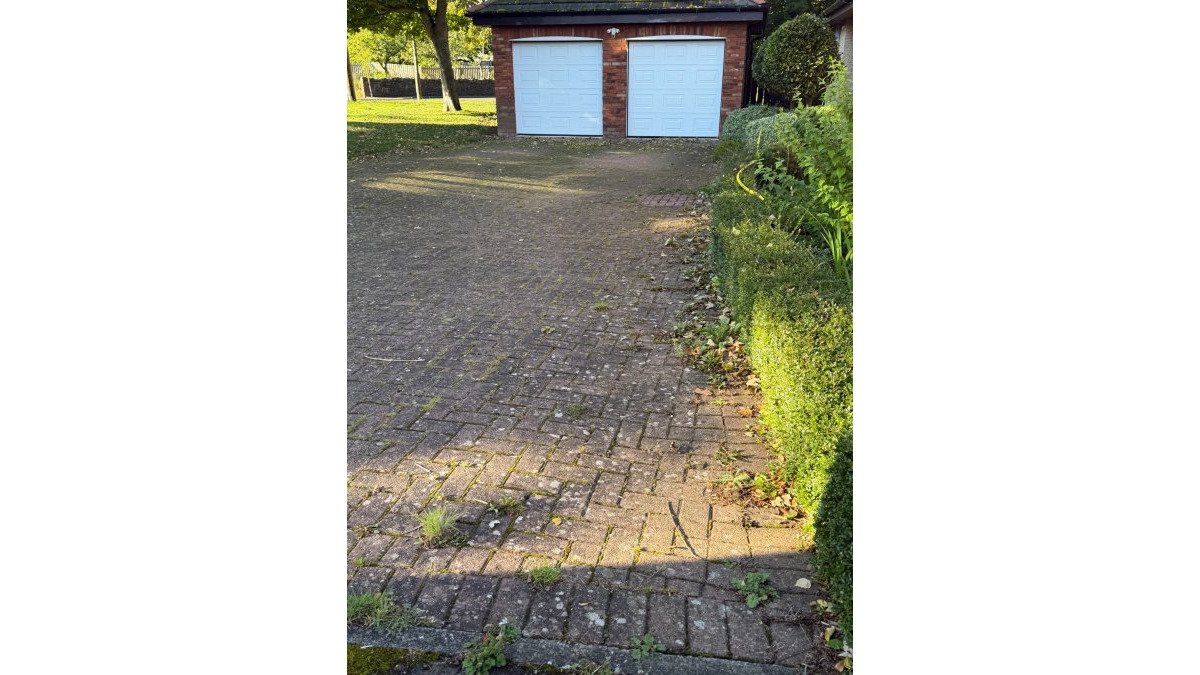
Block paving has narrow joints filled with sand. Over time, rain, everyday traffic and cleaning can loosen or wash some of that sand away. The gaps then collect windblown seeds, dust and small amounts of soil. If the joints stay damp or shaded, weeds have a place to take hold.
Moss and algae may also build up in areas that get little sun. They are different from weeds, but the green growth can make paving look grubby and may become slippery when wet. The RHS advice on weeds on hard surfaces explains that seeds can establish in paving cracks and joints, and recommends practical non-chemical removal methods.

Why pulling weeds or using weedkiller often isn’t enough
Pulling off the leaves can leave roots behind. Deep-rooted plants may regrow, while smaller fragments and fresh seeds can establish in nearby gaps. Weedkiller on its own does not replace missing joint sand or remove the loose soil where new seeds can settle.
That’s why the weeds can return even after the surface looks better. The aim is not just to remove visible growth; it is to leave the paving clean and the joints properly filled.
How to remove weeds from block paving
1. Lift out the weeds and roots
For a small number of weeds, use a block-paving knife or narrow weeding tool to work along each joint. Lift out as much of the plant and root as you can without levering against the edges of the blocks. A stiff joint brush can help clear moss, seedlings and loose debris.
Collect the weeds rather than brushing them into a border or composting them if they have seeds or persistent roots. The RHS also recommends tools such as a weeding knife and brush for hard-surface growth.
2. Clean the paving and joints
Once the growth is removed, clear away loose soil and organic debris. A deep clean can lift built-up grime and remaining moss, revealing the colour of the blocks again.
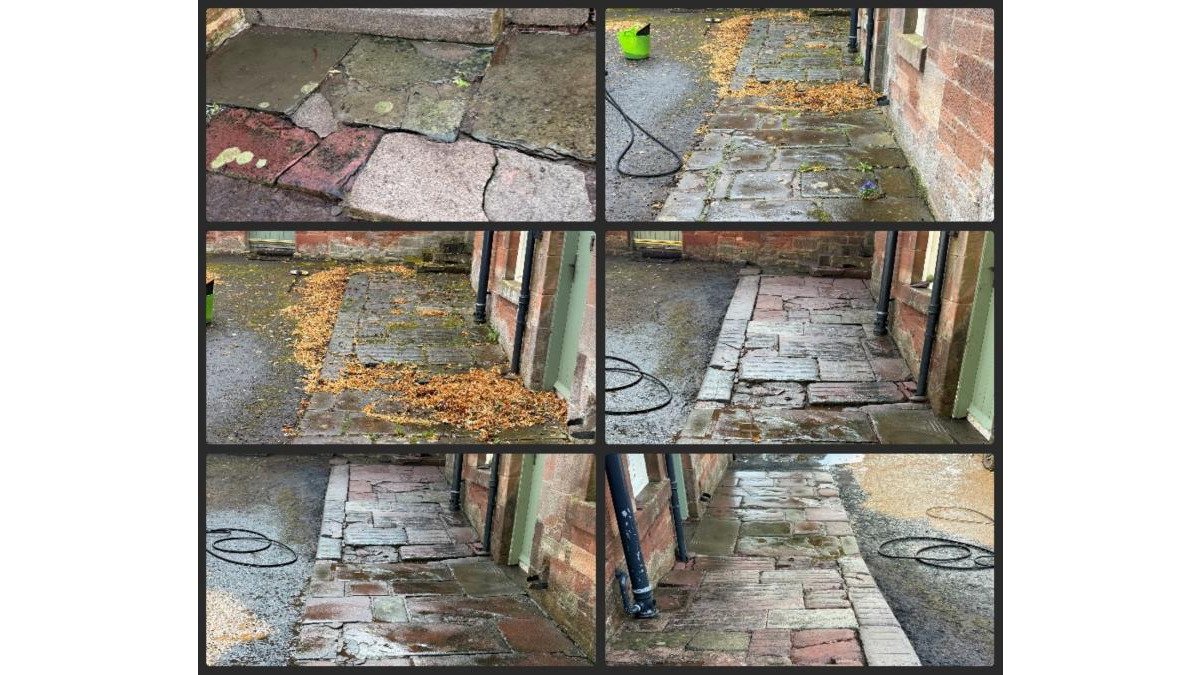
Take care with a pressure washer. A powerful, narrow jet held too close to the paving can blast sand out of the joints, disturb the bedding beneath the blocks or damage their surface. That can leave the gaps even more open than before. If you use a washer, start with a suitable setting, keep the lance moving and test a small, inconspicuous area first. Avoid directing a concentrated jet straight down into the joints.

3. Let the paving dry fully
Before you refill the joints, give the paving and the joints time to dry. This is important if you are using kiln-dried jointing sand.
Kiln-dried sand is dried to remove most of its moisture, so it can flow easily into narrow gaps. When the joints and blocks are dry, brush the sand across the paving and work it down into the joints. Damp surfaces can cause the sand to clump, making it harder to fill the gaps evenly. Follow the sand manufacturer’s directions and brush away excess from the surface when you’re finished.
4. Refill the joints
Brush in enough sand to fill the joints to the appropriate level. Don’t leave gaps or piles of loose sand on top of the blocks. Properly filled joints help keep the paving supported and reduce the amount of space available for soil and seeds to settle.
If the joints are deep, uneven or have lost a lot of material, take time to check the condition of the paving rather than simply covering over the problem. Blocks that move or wobble may need more than a quick brush-in.
5. Consider a suitable biocide treatment
Where moss, algae or lichen is also present, a suitable biocide treatment may help manage that surface growth and keep the paving looking cleaner for longer. It is not a substitute for removing weeds or refilling open joints, and you should only use a product that is appropriate for the surface and intended use.
Read and follow the product label carefully. Protect nearby plants, keep pets and people away as directed, and take care to prevent chemicals or runoff entering drains or water. Avoid using a treatment if you are unsure it is suitable for your paving.
Does every surface need pressure washing?
No. Block paving can often be deep cleaned, but the right method depends on its condition and surrounding materials. Older stone, render and other delicate surfaces may need a professional soft wash instead. Soft washing uses low pressure with suitable treatments, helping to clean sensitive surfaces without relying on a forceful jet.
If you’re unsure what your surface can handle, get advice before washing. A careful approach can help protect the paving and avoid making a small weed problem into a bigger repair job.
Keep weeds from taking hold again
No cleaning method can prevent every seed from reaching your driveway. Regular checks make it easier to deal with growth while it is small:
Brush away loose soil and leaves before they settle into joints.
Pull or cut out seedlings early, including as much of the root as practical.
Look out for missing or low joint sand and top it up when needed.
Be cautious with high-pressure cleaning, as it can remove the sand that supports the blocks.
Use chemical products only as directed, and keep them away from plants, pets and drains.
Keeping the joints full and clear of debris gives new weeds fewer places to establish. It also helps your block paving look tidier between cleans.
When a professional clean and re-sand can help
If weeds have spread across a large driveway, the joints are badly depleted or the paving looks tired and slippery, a complete restoration may be more practical than treating each gap by hand.
Drive Revive Haddington provides driveway restoration across East Lothian. Our service includes weed removal, a deep clean, precision re-sanding and biocide treatment where suitable. We’re fully insured, careful with your property and clear about pricing before work begins.
You can find out more about our block paving cleaning and re-sanding in Haddington, or see our driveway cleaning service. We provide local service across East Lothian.
If you’re searching for block paving cleaning in Edinburgh or pressure washing in Edinburgh, check the provider’s service area before booking. Drive Revive Haddington focuses on local homes across East Lothian, including customers looking for driveway cleaning in East Lothian.

A fresh finish starts with the joints
Weeds tend to return when gaps remain open, damp and full of debris. Removing the roots, cleaning carefully and brushing kiln-dried sand into fully dry joints gives your driveway a much better chance of staying neat.
For a professional assessment and a free, no-pressure quote, get in touch with Drive Revive Haddington. We’ll be happy to discuss your paving and the right way to bring it back to life.
Comments